
Goal:- Replace 4116 chips with 4164 chips and make pack more reliable and eliminate the annoying ribbon cable.
Please note that this will not give you more ram even though 4164’s are 64k the ram pack is only designed to address 16k.
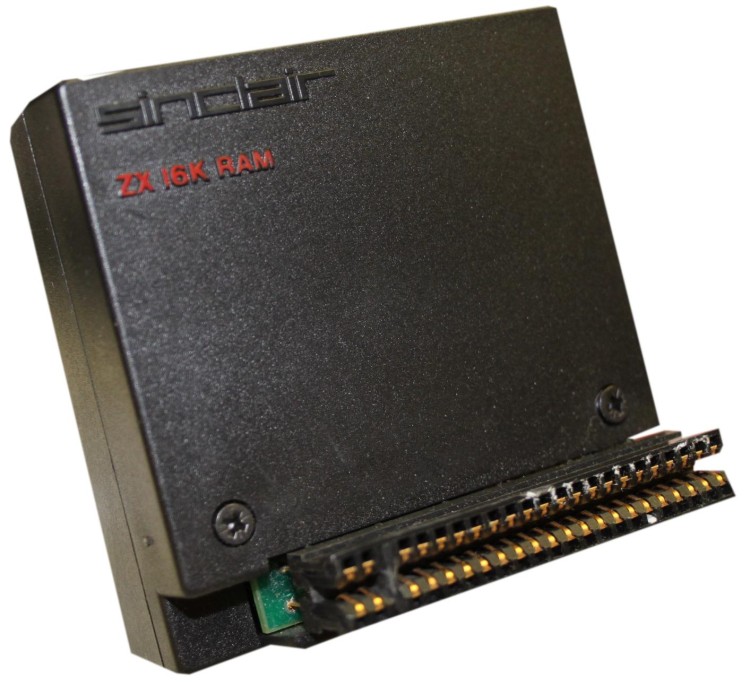
Got a Rampack to repair?
fed-up with blown 4116’s?
have 4164’s laying around?
Then this article is for YOU!
I have been looking to repair my 16k rampacks for my ZX80 and to make them more reliable . There are lots of places on the web that tell you that you can use 4164 as a replacement for 4116 , but none that show you how! So here we go.
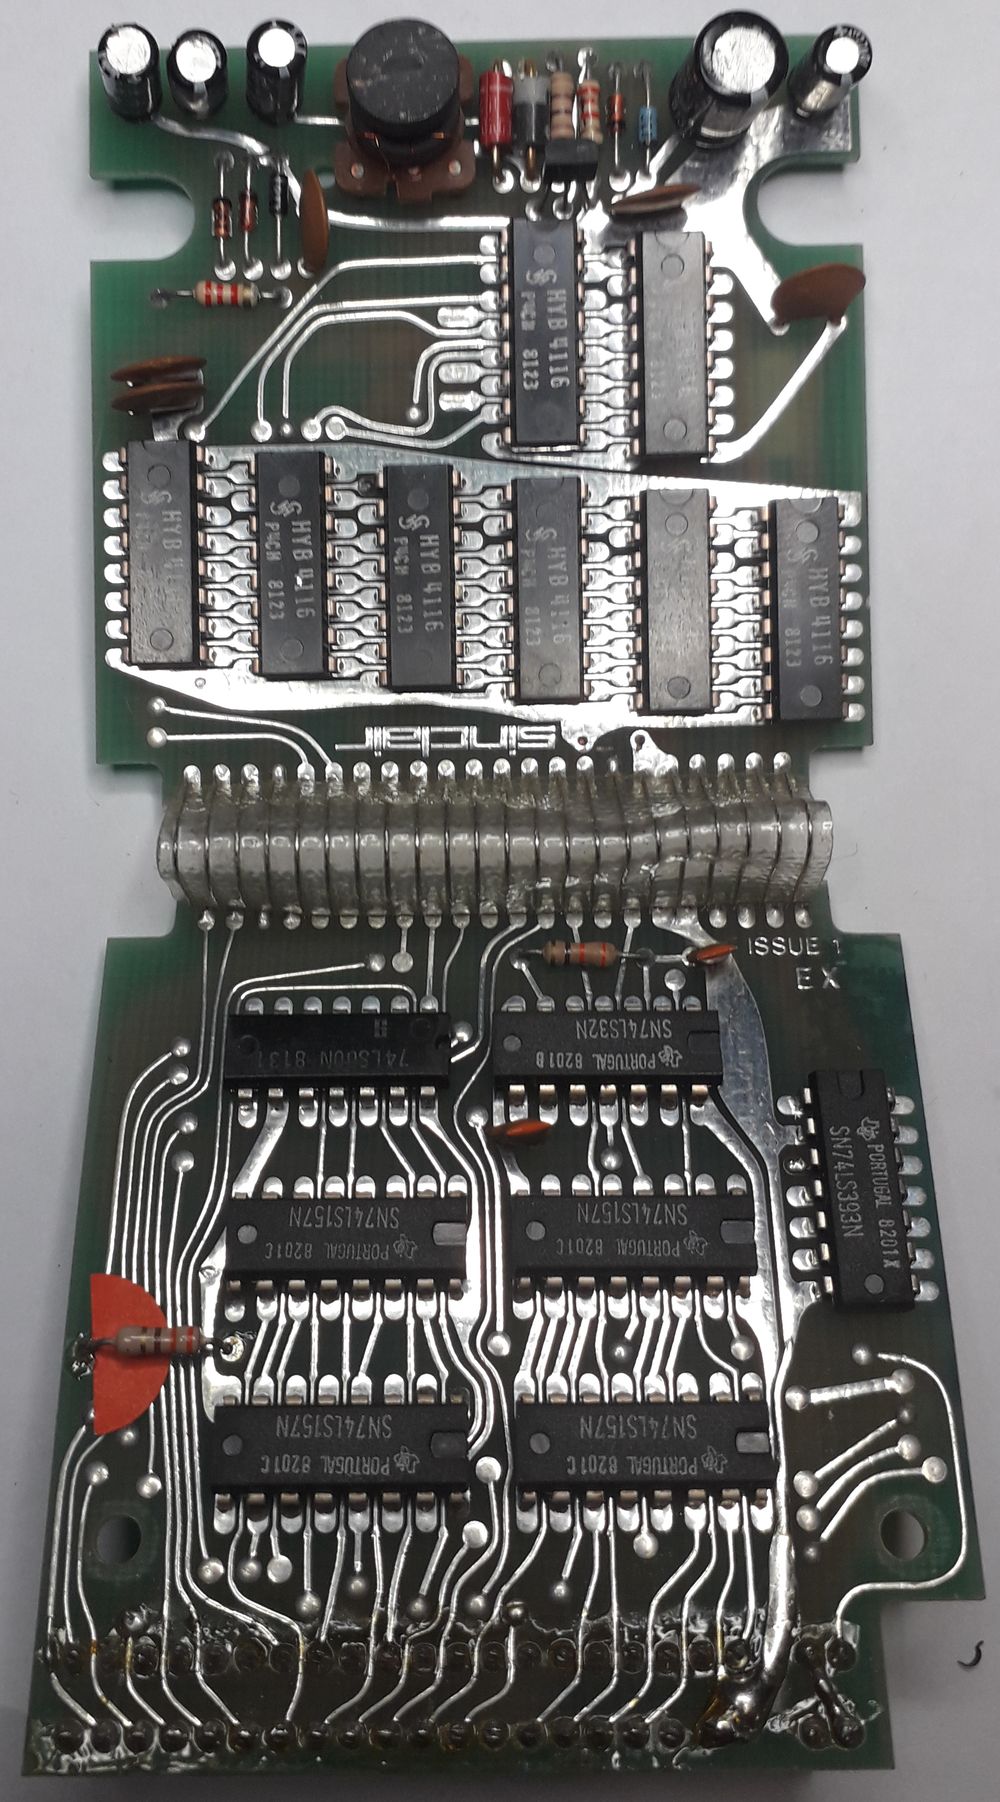
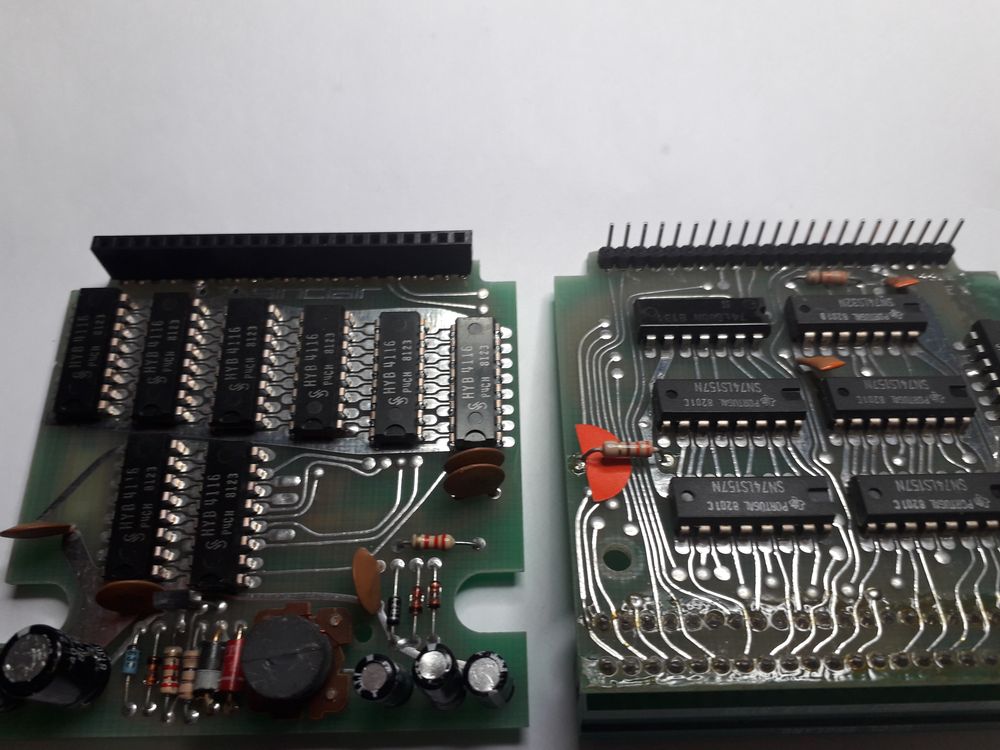
The stock issue 1 boards look like this.
The first move in this case is to remove that annoying ribbon cable! You will need some pcb pins and socket strips. make sure the sockets are quite deep. They are available on ebay under the descriptions “SIL Header Socket Row Strip “. It needs to have 22 pins/sockets ( you can cut them down to size or use more than one i.e. a 20 and a two). Carefully remove the cable and use a desolder pump or solder wick to clear the holes.when finished it should look like this.
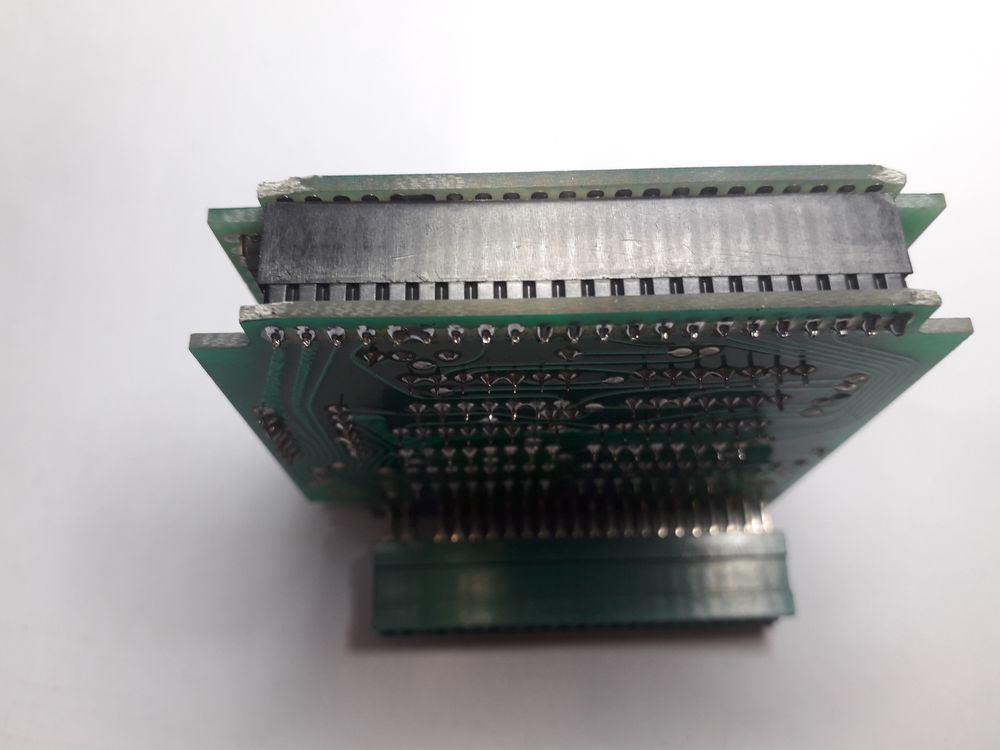
Now isn’t that a better fit! It also makes the boards easier to work on. Next we need to remove most of the passive components so that the voltage generator circuit is gone. The 4116 chips require a -5v and +12v supply in addition to the standard +5v . 4164 chips only require +5v , this is the main reason why they are more reliable.
Unfortunately this is as far as i got. I tested the ram pack after replacing the ribbon cable and it is now working fine!!!
I will finish this post if , or when i get another issue 1 ram pack that has chip problems…
if you need to finish yours please refer to the issue 3 update it should help!
I’m not that much of a internet reader to be honest but your blogs really nice, keep it up! I'll…